What if we told you the very walls around you hold a secret? Every retail store you visit, your office, and your home all have it. Sheetrock, wallboard, plasterboard, gypsum wallboard, and, most frequently, drywall are some of its various names. What is drywall? Why has it become a staple in Australian building projects? This material has revolutionised construction over the last century, replacing traditional plaster-and-lath systems with a quicker-to-apply, lighter, and more cost-effective solution. Even though drywall is used often in daily life, very few people are aware of its true uses, origins, or manufacturing process. Let’s break it down.
What is a Drywall? Why is it Used?
Drywall, also known as drywall sheetrock, is a multipurpose building material that is easy to repair, durable, and quick to install for walls, ceilings, and architectural elements like arches and eaves. What is in sheetrock? It consists of a gypsum core between two sheets of heavy paper or fibreglass
It offers a low-cost finish for masonry walls above ceilings and hides steel beams around columns in commercial structures. Additionally, drywall makes walls and ceilings more fire-resistant, limiting the spread of fire and enabling a safe evacuation.
The Origins of Drywall
In 1916, U.S. Gypsum (USG) developed “Sackett Board.” Fireproof tiles initially evolved into paper sheets and multi-layer gypsum sheets and, ultimately, into the single-layer gypsum core sandwiched between paper we know today. Drywall was slow to be used widely despite rapid development and took 25 years. It was considered a cost-effective alternative to plaster, but not very good. The use of drywall increased during World War II as wartime costs and labour shortages required rapid, low-cost building. In 1945, drywall dominated. It was more widely accepted than plaster after the war, which increased contractor profitability.
Drywall Sheetrock: Types and Variations Used in Australia
The regular drywall is suitable for most purposes, but there are a number of other varieties that can be more appropriate for specific situations. You can select the right one with the help of the types covered below.
- Regular Drywall/Plasterboard: It has a gypsum core surrounded by paper. This is the most widely used type, as it is economical and widely available for general wall and ceiling use in houses and offices.
- Moisture Resitant/Green Board: It is for bathrooms, kitchens, and laundries. MR board has a water-resistant facing paper and usually a treated gypsum core. This prevents mould growth and keeps the board solid in humid situations.
- Fire Rated/Type X: It has a denser gypsum core with additives that retard the spread of fire. Fire-rated drywall is typically used in walls or ceilings that require a fire rating beyond 20 minutes, to comply with building codes.
- Sound Board: Acoustic board has a denser gypsum core and occasionally specialised layers to absorb sound waves to reduce sound transmission. It is used in spaces where noise transmission is a concern, like theatres, recording studios, and multi-residential units.
- Flexible Drywall: This thinner, more flexible drywall is used for curved walls and ceilings. Its flexibility makes it simple to bend and install around curves and arches.
- Impact-Resistant Drywall: Fibres or a denser core are added to resist physical impact and damage. It is used in high-traffic zones, including corridors, schools, dormitories, and hospitals.
How Drywall Works: Construction and Installation
Drywall Construction
Gypsum is mined, crushed, heated (calcined), and then mixed with additives such as starch, binders, and sometimes fibreglass. This paste is spread between specialised paper facings (or durable paper liners) and dried.
Installation Process
First, decide on the right kind and quantity of drywall. You can save money by renting specific tools. The following steps make up the procedure:
1. Cutting Phase
- Lay out your drywall sheets first on a level, dry surface.
- Measure the length of the sheet required for your project and note the location where you will cut it using a pencil.
- Use a drywall T-square and a drywall saw to make cuts.
- Use a keyhole saw to cut openings for outlets and light switches, and a circle cutter to work with curved surfaces.
2. Hanging Phase
- Put drywall sheets on the metal or wood studs that frame your space.
- Hang drywall in a way that the longest edge of the sheet runs perpendicular to the wood studs or joists.
- It is optional to coat wood studs with drywall adhesive.
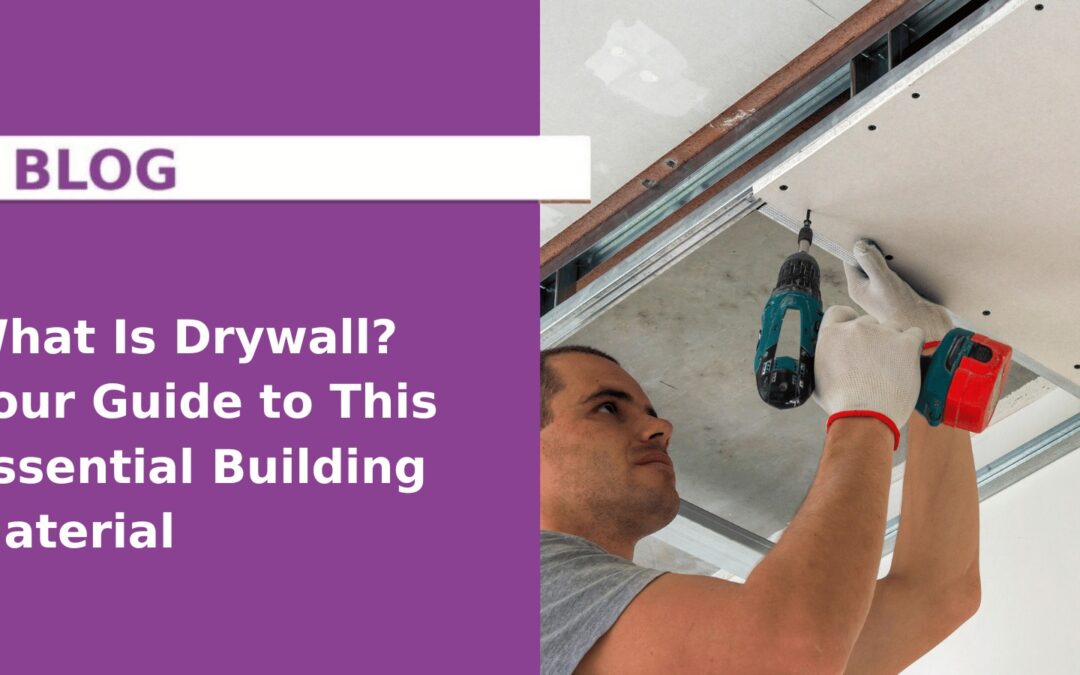
- Attach the drywall to the studs using a screw gun and drywall screws.
3. Finishing Phase
- The first step is to cover the seams between your drywall sheets with tape. Spread a layer of joint compound (like a thick paste) about four inches wide, right over the middle of where the sheets meet. This layer is called the tape coat.
- Next, apply drywall tape along the joints. Use your 6-inch taping knife to apply a second coat of mud, the block coat, on top of your drywall tape to hold it in place.
- The final coat is called the skim coat, which is applied with a 10 or 12-inch finishing knife. Take your time spreading the mud thinly away from the seams for a clean, even finish.
- Let the mud dry for 24 hours, then sand lightly with a pole sander and 120-grit sandpaper until smooth. Wear a mask and goggles to protect your eyes and lungs.
What Drywall Size and Thickness Should You Use?
- Standard Thicknesses: Commercial buildings usually use 13mm thick plasterboard, residential buildings use 10mm thick plasterboard, and curved walls use 6.5mm thick plasterboard. In areas that need higher fire ratings, 16mm is used.
- Standard Widths: 1200mm, 1350mm
- Standard Lengths: 2400mm, 2700mm, 3000mm, 3600mm, and longer lengths are also available.
What Alternatives Can Be Used for a Drywall?
Drywall, while popular, has drawbacks, including a hollow sound, a lack of character, and likely to damage. Other options include:
- Brick walls can be used in homes and workplaces to add to the visual appeal and value of your property.
- Traditional plaster installation has become easier with faster drying times and better structural support.
- Veneer plaster or blue board (a specialized drywall) is quicker to install than standard drywall and requires minimal finishing, but it is more expensive.
- Wood paneling is easier to install and available in a wide variety of wood veneers and finishes. It is a premium option compared to drywall.
- Fibreglass Reinforced Panels (FRP) are a mold and bacteria-resistant alternative to ceramic tile in kitchens, bathrooms, around pools, and sterile environments such as laboratories, hospitals, and medical offices.
Advantages of Drywall
The major benefits for which builders and contractors like it are:
- Drywall panels are easier and faster to install than traditional plastering techniques.
- In general, installing drywall is less expensive than applying plaster.
- You can cut and shape drywall to fit different designs and places.
- Certain types of drywall are made to reduce sound transmission between rooms.
- Gypsum contains water in its crystal structure, which, when heated, releases steam, preventing a fire from spreading.
- Drywall is easy to fix if it gets damaged, which makes maintenance quick and affordable.
How to Address Common Drywall Concerns?
One frequent question is, what is in drywall that might be harmful? Modern drywall is generally considered safe, but there are a few points to consider:
- Standard drywall can absorb moisture, which causes mould growth, structural damage, and overall deterioration. Install a moisture-resistant drywall for bathrooms and kitchens.
- Drywall can be damaged as it is soft, making it easily dented or punctured.
- The installation can be tricky as it involves proper taping, mudding, and sanding. Poor work results in visible, unattractive seams and cracks.
- It is dangerous for the respiratory system to inhale drywall dust ventilate. You should use a mask for gypsum dust when sanding.
- Humidity and temperature changes cause wood studs to expand and contract, loosening screws and creating pops. It requires re-securing and re-mudding
- Cracks are often caused by structural settling. Repair with joint compound and fibreglass tape.

